Last updated November 21, 2026
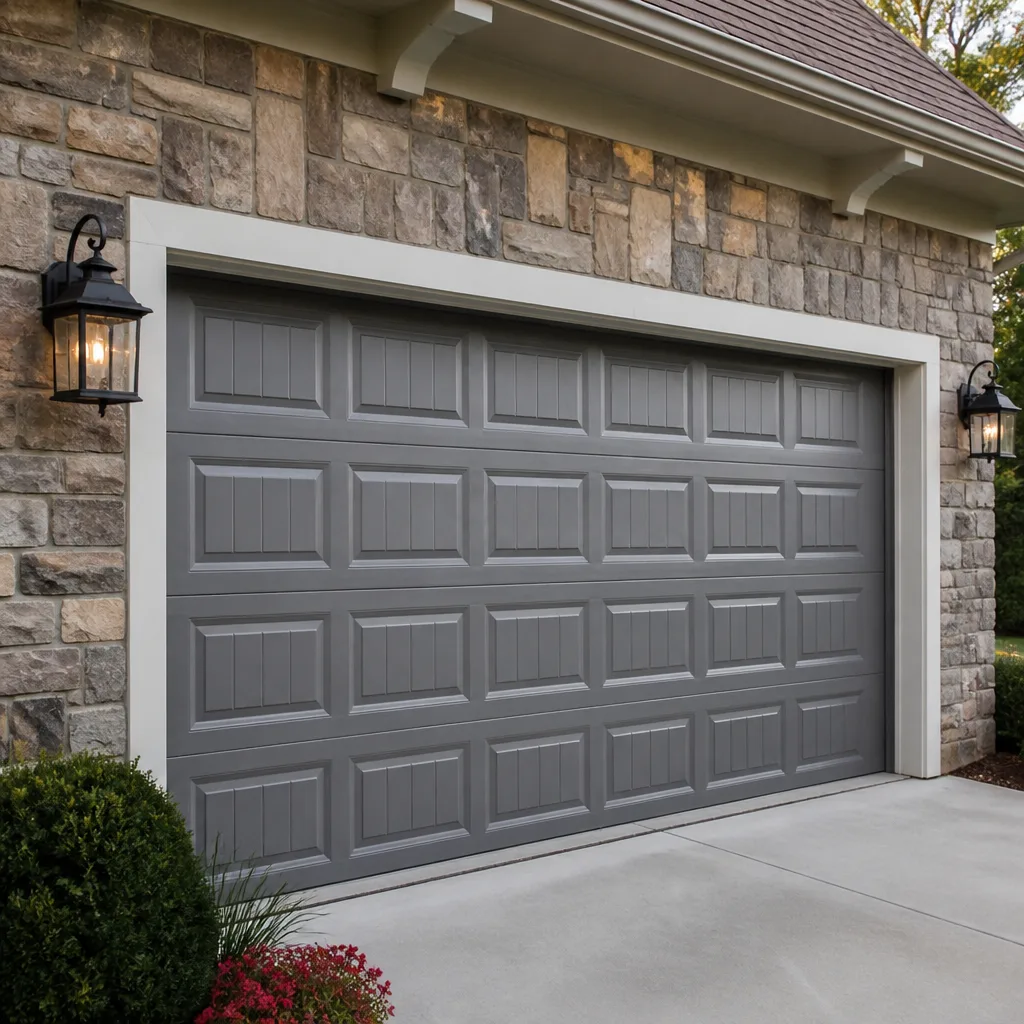 Raised-panel steel
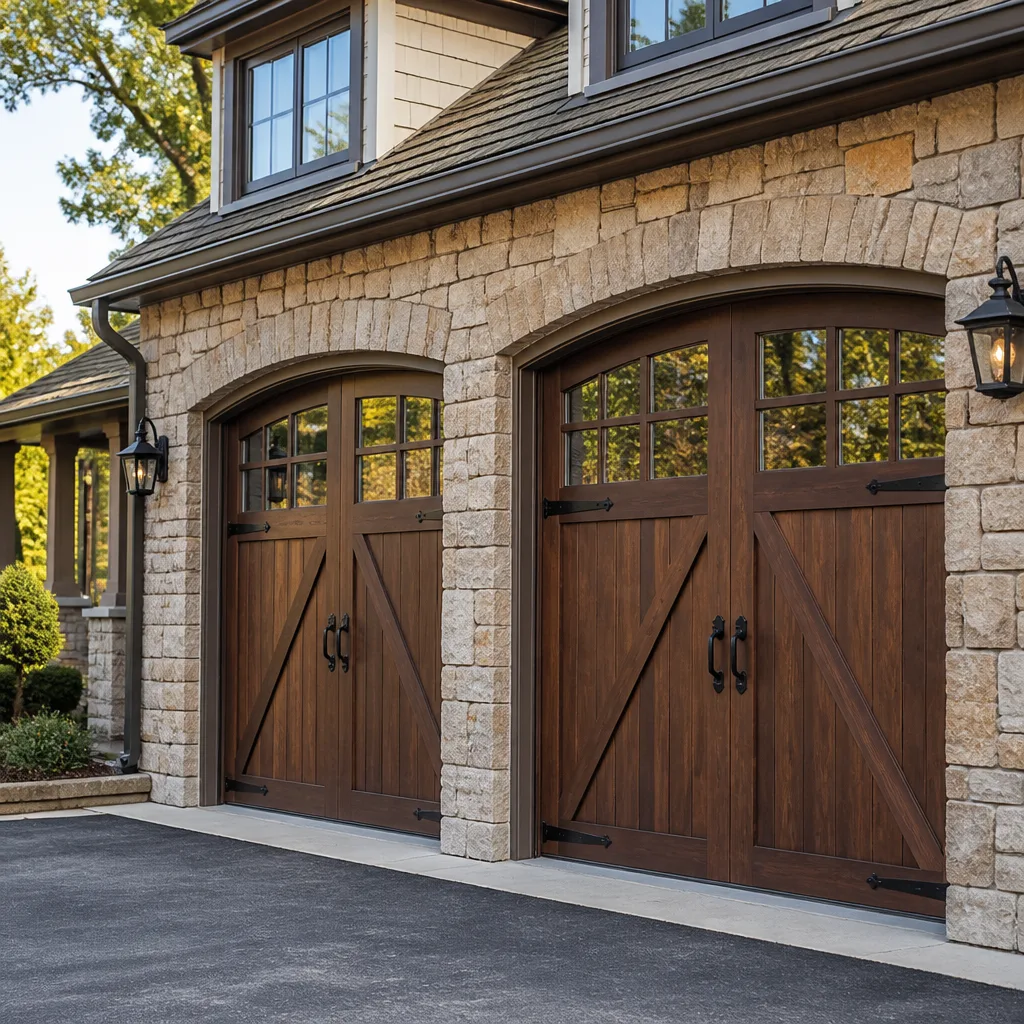 Carriage house
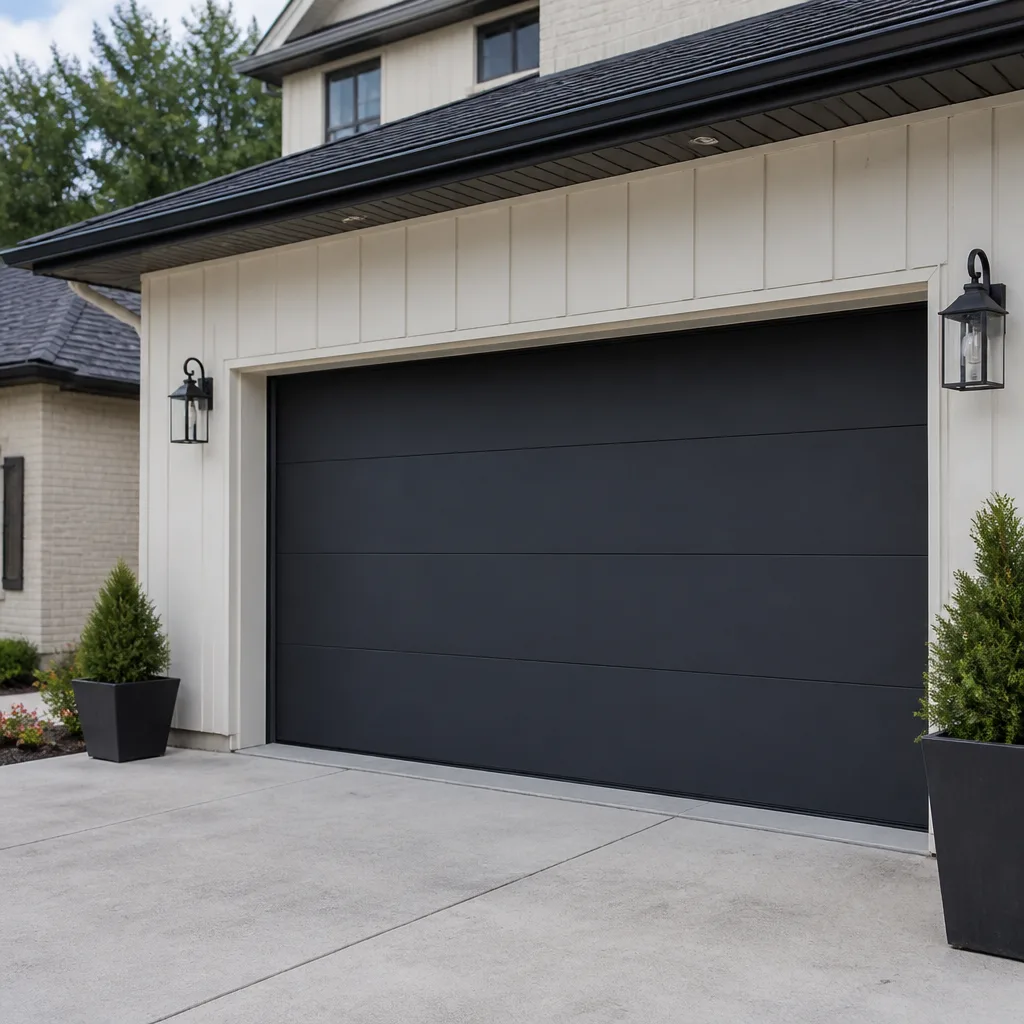 Modern flush
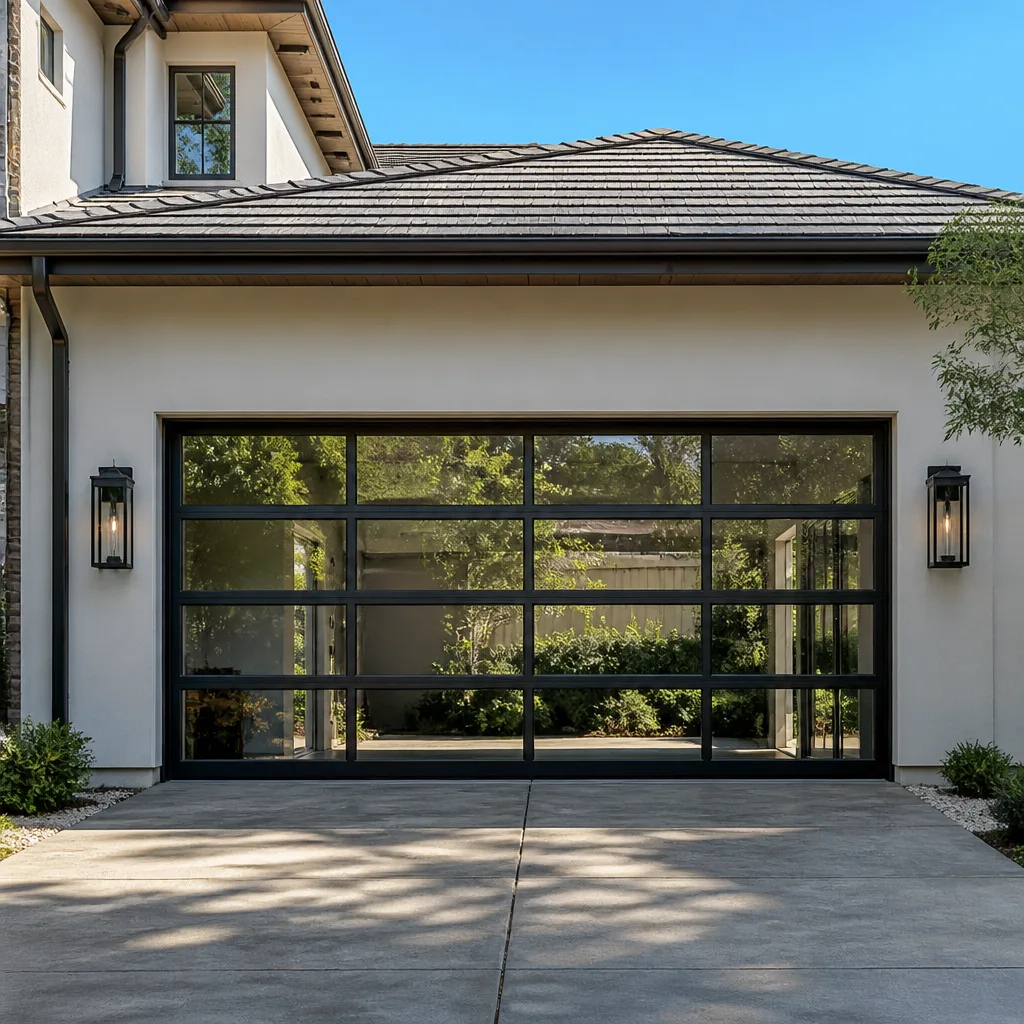 Full-view glass
 LiftMaster openers
 Chamberlain openers
Full 25-point door and opener safety check with every visit - springs, cables, rollers, tracks, and your LiftMaster or Chamberlain opener included
You get a price before we start. It does not change when the pro arrives.
Get your free estimateGarage Door Repair Maintenance Checklist for Bradenton Homeowners
The most common maintenance mistake we see in Bradenton isn’t skipping lubrication. It’s using the wrong lubricant. Standard garage door lube, the kind sold in big-box aisles, turns tacky in Florida humidity, and once a sticky film builds on the rollers and hinges, grit sticks to it and grinds down the moving parts faster than a dry door ever would. So the part of the checklist everyone thinks they’ve handled is often the one quietly wearing the door out. This guide is built around what actually goes wrong in Bradenton: humidity that swells wood and stiffens grease, hurricane season that tests every bracket and track, and air that speeds up corrosion on hardware within a few miles of the Gulf. Below you’ll find a monthly, quarterly, and annual routine with time estimates, a pre-season inspection protocol, and the safety checks every door should pass.
Quick Answer
A garage door maintenance checklist in Bradenton should cover lubrication with a humidity-rated product, a monthly visual inspection of springs, cables, rollers, and tracks, quarterly testing of the auto-reverse safety function, and a full pre-hurricane-season inspection of brackets, hinges, and mounting hardware. Most of the routine takes 10 to 20 minutes; the annual and pre-season checks take about an hour and can be handed to a specialist.
Styles & brands we work with
- Raised-panel steel
- Carriage house
- Modern flush
- Full-view glass
- LiftMaster openers
- Chamberlain openers
Table of Contents
- Why Bradenton Humidity Changes What Your Door Needs
- Which Lubricant Works in Florida Humidity (and Which Makes It Worse)
- Your Monthly Garage Door Checklist
- The Quarterly Deep Check
- Testing and Documenting the Auto-Reverse Safety Function
- A Pre-Hurricane-Season Inspection Protocol
- Corrosion Checkpoints for Homes Near the Gulf and Tampa Bay
- The Annual Task Breakdown
Why Bradenton Humidity Changes What Your Door Needs
Bradenton’s summer humidity sits high for months, and that changes how a garage door wears. Metal expands slightly and contracts back as temperatures swing between a hot afternoon and an air-conditioned evening. Wood sections take on moisture and swell, then shrink again. Grease that sits fine on a door in a dry climate turns gummy here, catching dust and holding it against metal surfaces. In our experience, a door that gets no attention in Bradenton can develop stiff rollers and squealing hinges within a couple of seasons, not the several years you’d expect further north.
Humidity also affects the opener. The motor itself doesn’t mind moisture, but the logic board, the safety sensors, and the wall-mounted controls are electronic components that live in a space with no climate control. Condensation on a circuit board can cause erratic behavior: a door that reverses for no reason, a remote that only works up close, a light that stays on. If your opener has started acting strangely and there’s no obvious mechanical cause, humidity is often the quiet culprit. That’s one reason we take garage door opener repair seriously as its own diagnostic: the symptom looks electrical, and it often is.
The practical takeaway is that the maintenance calendar here should run ahead of the weather, not behind it. Get the door serviced and lubricated before the humid stretch builds, and inspect hardware before storm season rather than after damage shows up. Bradenton homes also tend to sit on lots where the garage door faces afternoon sun for hours, which bakes the finish and dries out the weatherstripping along the bottom and sides. Peeling paint and cracked seals are early warnings that water is getting where it shouldn’t. Address them in the dry months so summer doesn’t finish the job.
One more local reality: many Bradenton garages double as workshops, storage rooms, and laundry overflow. That means the door opens and closes more than the manufacturer expects, and every extra cycle is wear on springs, cables, and the opener’s drive. If your household runs the door six or eight times a day, treat the maintenance schedule as busier than average and check the door more often.
Which Lubricant Works in Florida Humidity (and Which Makes It Worse)
The right lubricant for a garage door in Bradenton is a silicone-based spray or a lithium grease formulated for humid conditions. The wrong choice is a general-purpose oil or an old can of WD-40 used as a lubricant, both of which leave a film that attracts grit and can gum up in the heat. If you’ve ever heard a door that screeches louder after someone “fixed” it, the sticky film is usually why.
What to use
- Silicone spray for hinges, rollers, and the torsion spring coils. It stays thin, doesn’t attract grit, and holds up in humidity.
- White lithium grease for the opener’s rail, the screw drive, or the chain, depending on which opener you own. A light coat only; more is not better.
- Dry graphite or a dry-film lubricant on the track itself. Tracks should be clean and dry, not oily; oil on a track attracts debris and can cause the rollers to bind.
What to skip
- General-purpose oils that stay wet and tacky in warm weather.
- Any lubricant applied to safety sensor lenses or the photo-eye windows; those need to be clean and clear, not coated.
- Heavy grease on hinges or rollers, which traps dust and grit and accelerates wear.
Here’s the counterintuitive part: a dry, unlubricated hinge wears slowly and predictably. A hinge coated in the wrong oil wears faster because the grit that sticks to it acts like sandpaper every time the door moves. So applying lubricant isn’t automatically an improvement; applying the right one is. If you’re not sure what’s on your door now, clean the hinges and rollers with a rag and a mild degreaser before re-lubricating, and never mix products without cleaning first.
Openers from Craftsman, LiftMaster, Chamberlain, and Genie have different drive types, and each wants a different lubricant. Chain drives want a light grease. Belt drives are sealed and usually need nothing. Screw drives want grease along the threads. Getting this wrong is a small mistake with a long tail, because a gummy rail can cause the opener to strain and eventually fail. If you’re unsure which drive your opener has, we’re happy to identify it during a service call.
Your Monthly Garage Door Checklist
The monthly routine takes about 10 minutes and catches most small problems before they become repairs. Set a reminder on your phone for the same day each month. Here’s the order we walk homeowners through:
- Run the door and listen. Stand back and watch it go up and down. Listen for grinding, squealing, or a door that hesitates at any point in its travel.
- Check the balance. Disconnect the opener, lift the door halfway by hand, and let it go. A balanced door stays put. If it drops or rises on its own, the springs need attention.
- Look at the springs and cables. Torsion springs live on the shaft above the door; extension springs run alongside the tracks. Look for gaps, gaps in coils, or a visibly stretched spring. Cables should be taut and free of fraying.
- Check the rollers and hinges. Rollers should spin freely in their brackets. Hinges should be secure, with no loose screws or play.
- Wipe down the tracks. A dry rag, no oil. Look for dents, debris, or track sections that have pulled away from the wall.
- Inspect the weatherstripping. The bottom seal should touch the floor evenly with no gaps or tears, and side seals should be intact. This is your first line of defense against water and insects.
- Test the auto-reverse function. Put a roll of paper towels or a two-by-four under the closing door and confirm it reverses on contact. (More on this in the safety section.)
Each of those items is a two-minute visual check. The value is in catching a loosening bracket or a frayed cable early, before either becomes a failure that strands the door. In Bradenton, a door left open for half a day during rainy season can soak the interior of the garage, so a bottom seal that’s stopped sealing is worth replacing promptly.
If you find something on the list you can’t explain, take a photo and note the sound the door makes. A technician can often diagnose from a description and a picture, which saves a diagnostic visit on a door that doesn’t need one.
The Quarterly Deep Check
Four times a year, set aside 30 to 40 minutes for the checks that take longer. This is where most of the damage prevention happens. Here’s the routine we recommend for Bradenton homes:
- Lubricate all moving parts. Silicone on hinges, rollers, and spring coils; light grease on the opener rail. Wipe off excess before you close the door.
- Tighten hardware. Brackets, hinges, and the opener’s mounting bolts loosen over time from vibration. Snug them; don’t overtighten into wood that’s softened with humidity.
- Inspect the opener’s rail and belt or chain. Check for slack, wear, or debris. A chain that sags or a belt that’s fraying needs replacement.
- Clean the safety sensor lenses. Dust and cobwebs on the photo-eye lenses are the most common cause of a door that won’t close. Wipe them with a soft cloth and confirm the indicator lights are solid, not blinking.
- Test the opener’s force settings. Your opener’s manual explains how to check that it reverses under light resistance. Do this on a door that’s in good mechanical shape only.
- Look for corrosion on exposed metal. Particularly on the bottom sections and hardware, where moisture from the floor and the air collects.
The quarterly check is also the right time to look at the door’s finish. Bradenton’s sun is tough on paint and stain. Peeling paint on a steel door or a faded stain on a wood door is a sign the protective layer is gone, which lets moisture in. Sanding and repainting in the dry season adds years to a door that would otherwise start to rust or rot. If your door is a wood or composite model from a brand like Amarr or Wayne Dalton, check the manufacturer’s finish schedule, because some need a recoat at a specific interval.
One thing we don’t recommend: adjusting the spring tension yourself during a quarterly check. That work involves high-tension torsion or extension springs under significant load, and the hardware can release energy violently if a winding bar slips or a cable fails. A trained technician with the right tools sets the tension safely. The same applies to replacing cables, which carry the door’s weight alongside the springs.
Testing and Documenting the Auto-Reverse Safety Function
Florida law requires an auto-reverse safety function on any garage door that provides access to a living space. The function is the safety feature that reverses the door when it meets an obstruction, and it’s also the one component most often left untested. Testing it takes about two minutes and should be done monthly.
How to test it
- Place a solid object – a roll of paper towels, a two-by-four, or a full box – flat on the floor in the center of the door’s path.
- Press the wall control to close the door.
- The door should contact the object and immediately reverse to the open position. If it stops and stays down without reversing, the function is not working, and the door should not be used until it’s fixed.
You can also test the photo-eye safety sensors, which project an invisible beam across the door opening. With the door fully open, wave an object through the beam while the door is closing; the door should reverse. If the sensors’ indicator lights are blinking rather than solid, the sensors are misaligned or blocked by dirt, debris, or sun glare, and that’s a repair, not a nuisance.
Why documenting matters
Keep a simple log: date, whether the reverse test passed, and any notes. If you ever sell the home or rent it out, a documented record of safety testing is useful. If a technician services the door, they’ll appreciate knowing when the last test was done and what it showed. In our experience, a door that passes the reverse test monthly rarely causes a surprise. A door that’s never been tested often fails the first time it’s checked, and that failure is a safety issue, not just a maintenance one.
If the door doesn’t reverse, stop using it and call for service. A door that fails the safety test is a hazard, especially in a household with children or pets. This is one of the situations where garage door repair should be scheduled promptly rather than worked into a weekend project.
A Pre-Hurricane-Season Inspection Protocol
Hurricane season in Florida runs from June through November, and a garage door is the largest opening in most homes. A pre-season inspection is separate from routine maintenance because it focuses on how the door and its hardware will hold up under wind load and pressure changes. Schedule it in the spring, before the season starts, so any repairs can be completed in calm weather. The protocol takes about an hour and covers what routine maintenance doesn’t.
What a pre-season inspection covers
- String a plumb line on the door and check that it’s straight and square in the opening. A door that’s racked or out of square doesn’t seal evenly and is vulnerable to wind.
- Inspect every bracket and lag bolt that attaches the track, hinges, and spring system to the wall. Loose hardware can pull free under storm load.
- Check the door’s bracing. Many residential doors have horizontal or vertical reinforcement. Make sure it’s intact and attached; some manufacturers sell a reinforcement kit for high-wind areas.
- Look at the weatherstripping and threshold. A tight seal keeps wind-driven rain out of the garage and reduces pressure on the door.
- Confirm the auto-reverse and photo-eye systems work. Both should be tested before the season, not during it.
- Review the manufacturer’s wind rating. Doors from Clopay, Amarr, Wayne Dalton, and Raynor each carry specific wind-load ratings, and a newer door may be rated higher than what’s installed. If you’re replacing a door, ask about a wind-rated model for your opening.
Also test the manual release. If the opener fails during a storm or a power outage, you need to be able to disconnect the door and lift it by hand. The release cord should be reachable and functional, and the door should lift smoothly when disconnected. If it doesn’t, you may have a balance or spring problem that should be corrected before the season.
After a storm, don’t force a door that’s been damaged. If the door is off its tracks, bent, or the opener is dead, call for service. Storm-damaged doors can be dangerous to operate because the hardware may be under unexpected load, and forcing the door can cause further damage or injury.
Corrosion Checkpoints for Homes Near the Gulf and Tampa Bay
Bradenton sits between the Gulf and Tampa Bay, and homes within about five miles of either body of water face faster corrosion on garage door hardware than inland homes do. The humidity alone speeds oxidation, and any hardware exposed to the air accumulates surface rust faster. The checkpoints below are where it shows up first:
- Bottom section of the door. The lowest panel takes the most moisture from the floor and the weatherstripping. Look for bubbling paint, rust spots, or a seal that’s pulling away.
- Hinges and rollers. These are the highest-wear moving parts. Surface rust on a hinge is a sign to clean and re-lubricate; a hinge that’s seized needs replacement.
- Track sections and brackets. Look at the bottom of the track where water collects, and at the wall brackets for rust bloom around fasteners.
- Springs and cables. Pitting or discoloration on a spring is a visual warning that it’s under stress and may be closer to failure. A frayed cable is a stop-use condition.
- Opener mounting hardware. The brackets that hold the opener to the ceiling and the rail can rust in a humid garage, especially if the space is uninsulated.
The right response is preventive: clean rust spots, touch up paint on steel panels, and keep the moving parts lubricated with a silicone product. For doors with exposed steel hardware, an annual inspection in the spring catches corrosion before it turns into a panel replacement. If you see rust that’s eaten into the metal rather than just a surface film, or if a spring shows visible pitting, call a technician for an evaluation.
One more local factor: homes with garages on a slab, with the door facing the afternoon sun and the prevailing wind, collect more airborne moisture and grit. After a rain event, wipe down any metal that got wet and check the bottom seal for water intrusion. Small habits like that go a long way toward keeping a door in service in this climate.
The Annual Task Breakdown
Once a year, set aside an hour and go through the full list below. If you’d rather hand it to a specialist, a single visit covers everything and gives you a written record of the door’s condition. Here’s the annual checklist in order:
- Book a professional tune-up that includes a spring and cable inspection, balance check, track alignment, and lubrication with a humidity-rated product.
- Test the auto-reverse and photo-eye systems and record the results.
- Inspect the door’s finish and plan any repainting or staining for the dry season.
- Check the opener’s drive type and clean or replace the rail, belt, chain, or screw as needed.
- Review the door’s hardware for corrosion, looseness, and wear, replacing hinges and rollers as necessary.
- Evaluate the door’s wind rating and confirm it matches the home’s needs.
- Confirm the manual release works and the door lifts smoothly by hand when disconnected.
A tune-up also gives you an honest read on remaining spring life. Torsion springs are rated for a certain number of cycles, and a technician can tell you roughly how much life is left. That’s useful planning information, especially in a household where the door runs daily. If the spring is approaching the end of its rated life, scheduling the replacement before it fails is far less stressful than dealing with a door that won’t open.
We also use the annual visit to identify which brand and model of opener and door you have, so future service calls start with the right parts. Technicians who work on LiftMaster, Chamberlain, Genie, Craftsman, Clopay, Amarr, Wayne Dalton, and Raynor products regularly can diagnose faster and have the right components on hand when they arrive. That’s the practical value of brand fluency: fewer return visits and fewer surprises.
Common Mistakes to Avoid
- Using the wrong lubricant. General oils and leftover cans of spray lubricant gum up in Bradenton humidity and attract grit. Use silicone spray on hinges and rollers, and light grease on the opener rail.
- Oiling the tracks. Tracks should be clean and dry. Oil collects debris, and debris causes rollers to bind.
- Skipping the monthly safety test. The auto-reverse function is a legal requirement and a genuine safety feature. Test it monthly and record the result.
- Adjusting spring tension yourself. Torsion and extension springs are under high tension. A slip can cause serious injury. Leave spring work to a trained technician.
- Ignoring the bottom seal. A worn bottom seal lets in water and insects, and in this climate that shows up as rust and damage to the door’s lower panel.
- Forcing a door that’s off its tracks or damaged. Forcing a misaligned or storm-damaged door can bend the panels and stress the opener. Call a professional instead.
- Waiting until the door fails. A door that squeals, hesitates, or reverses for no reason is telling you something. Small checks catch the problem before it becomes an emergency.
See the difference
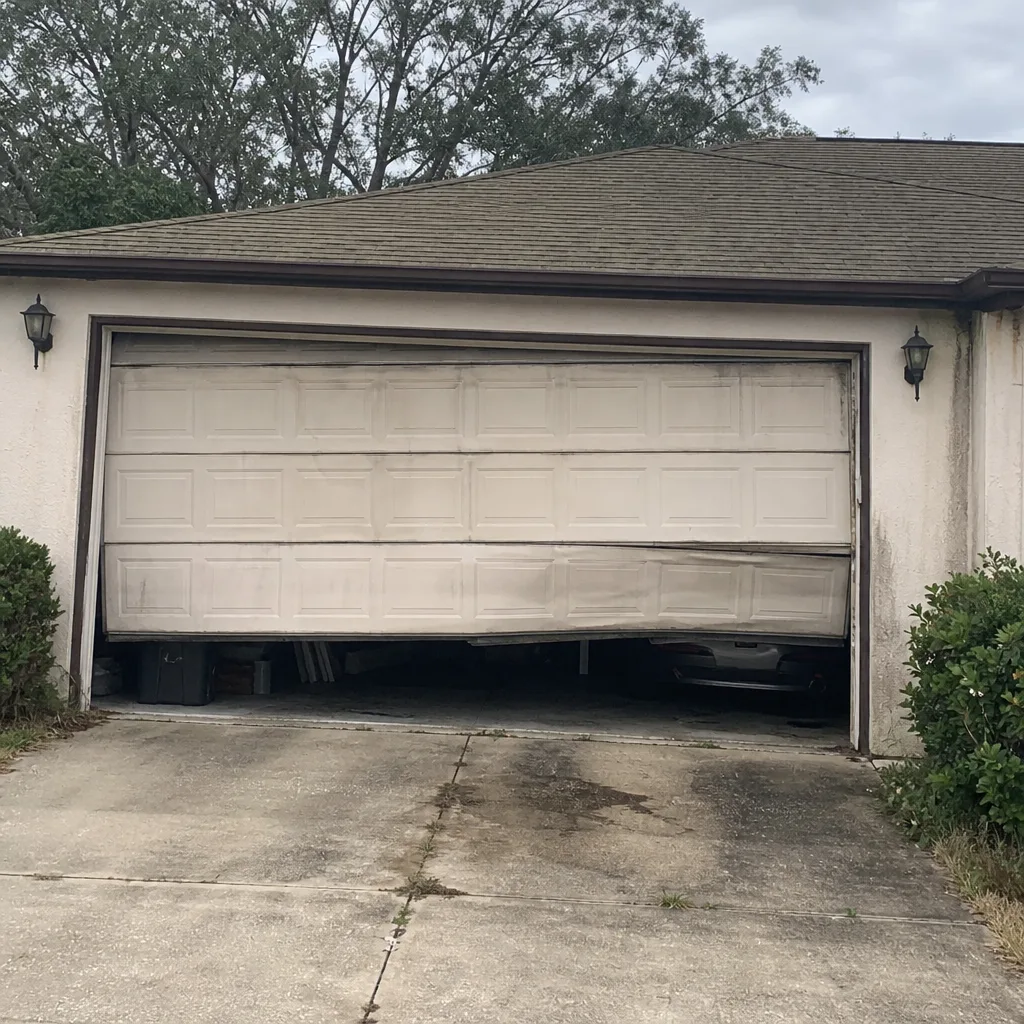 Before
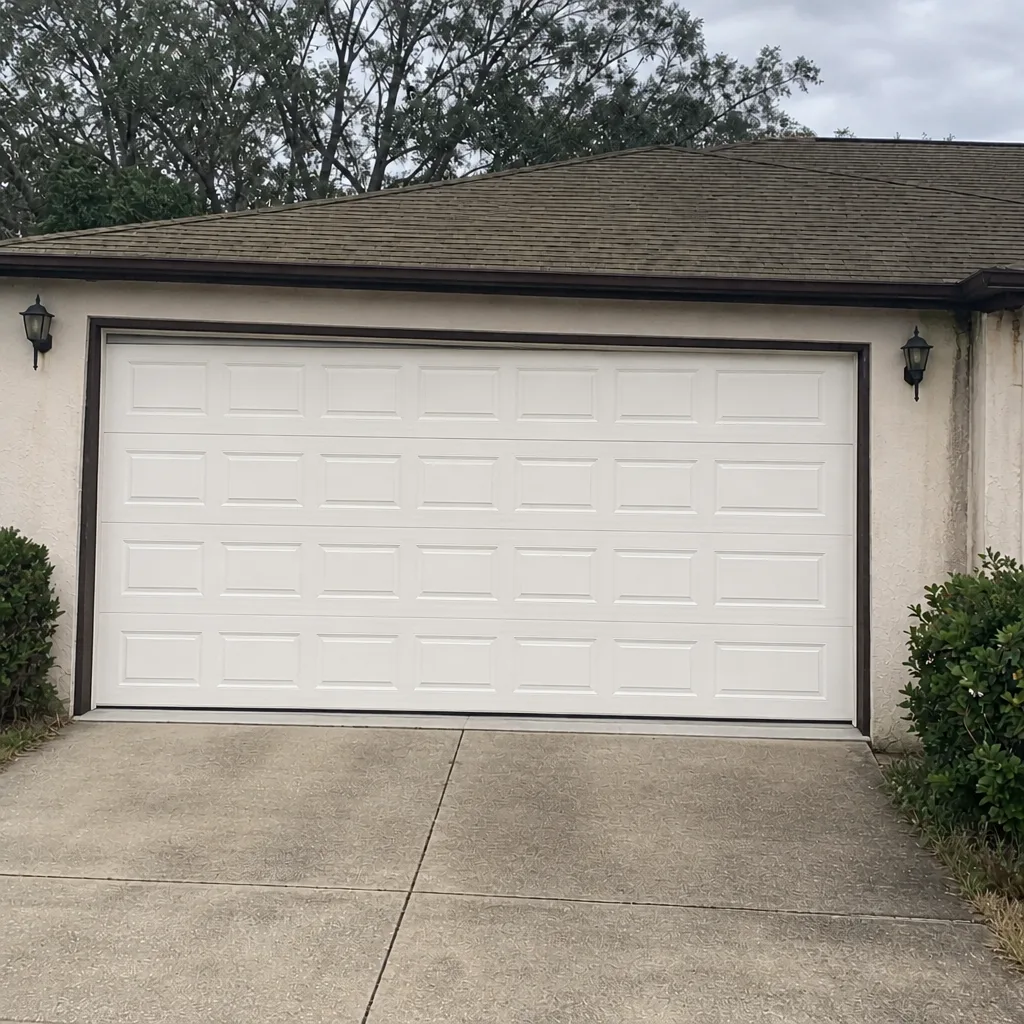 After
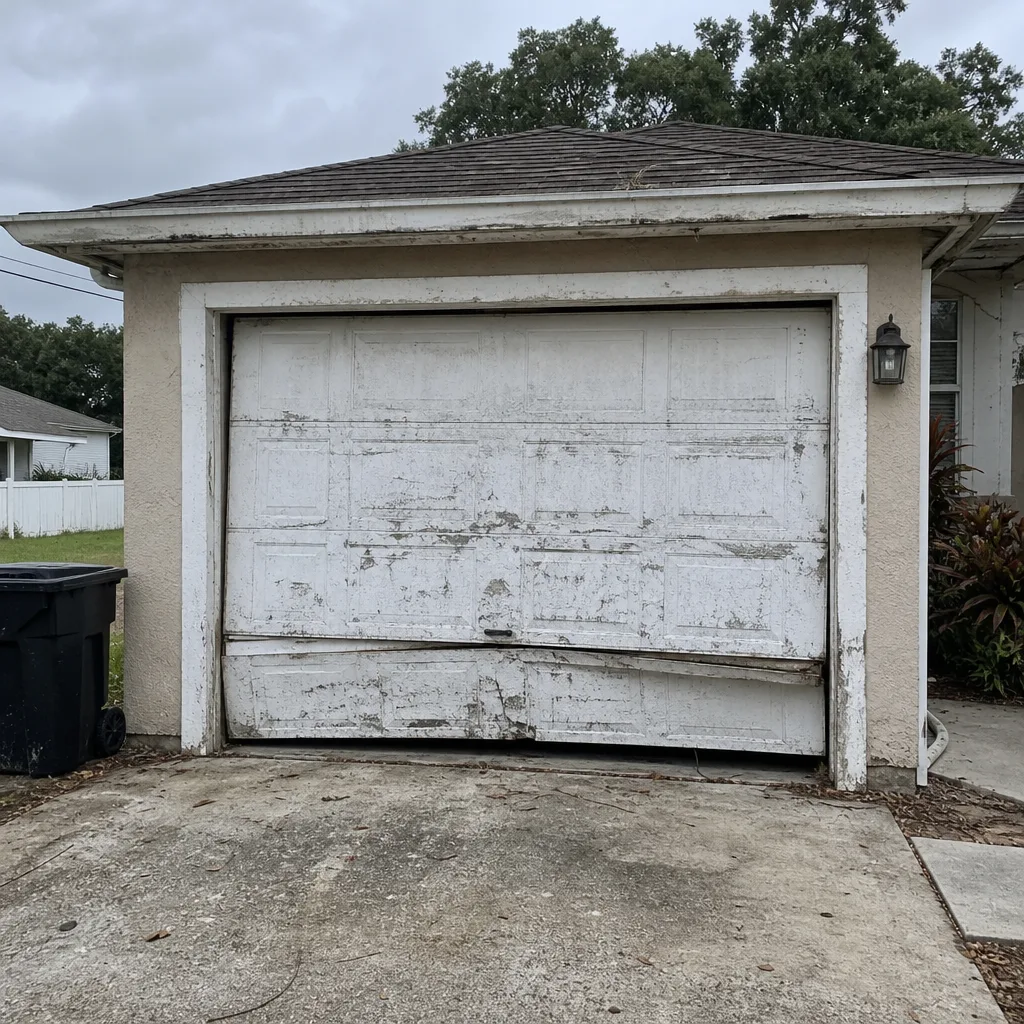 Before
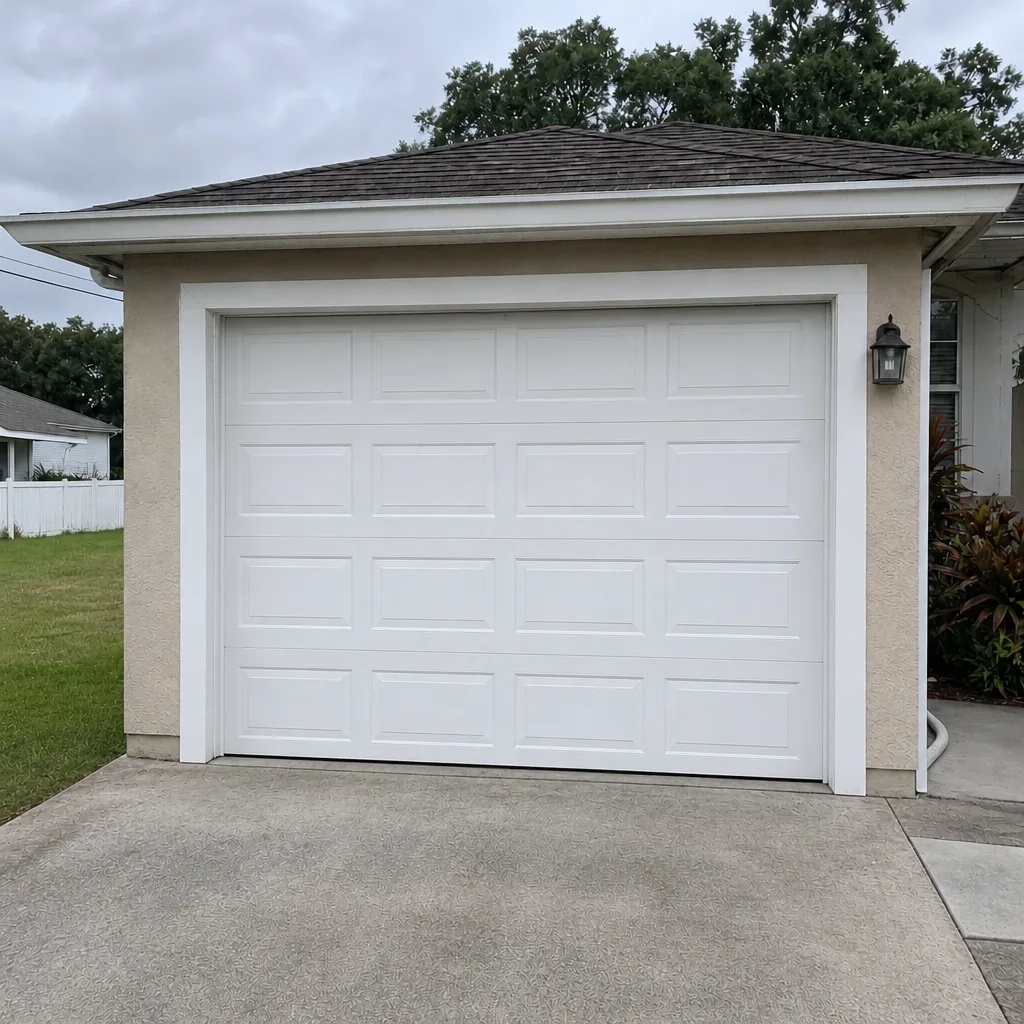 After
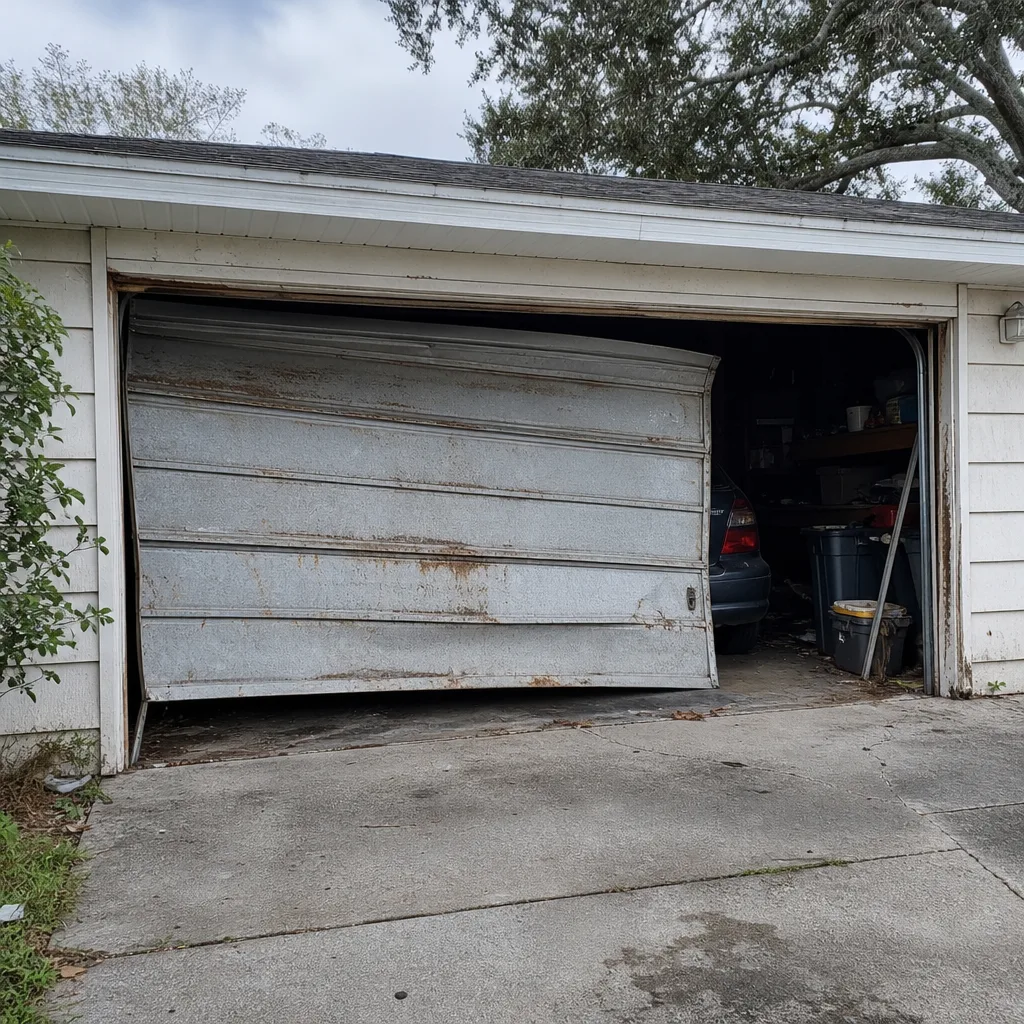 Before
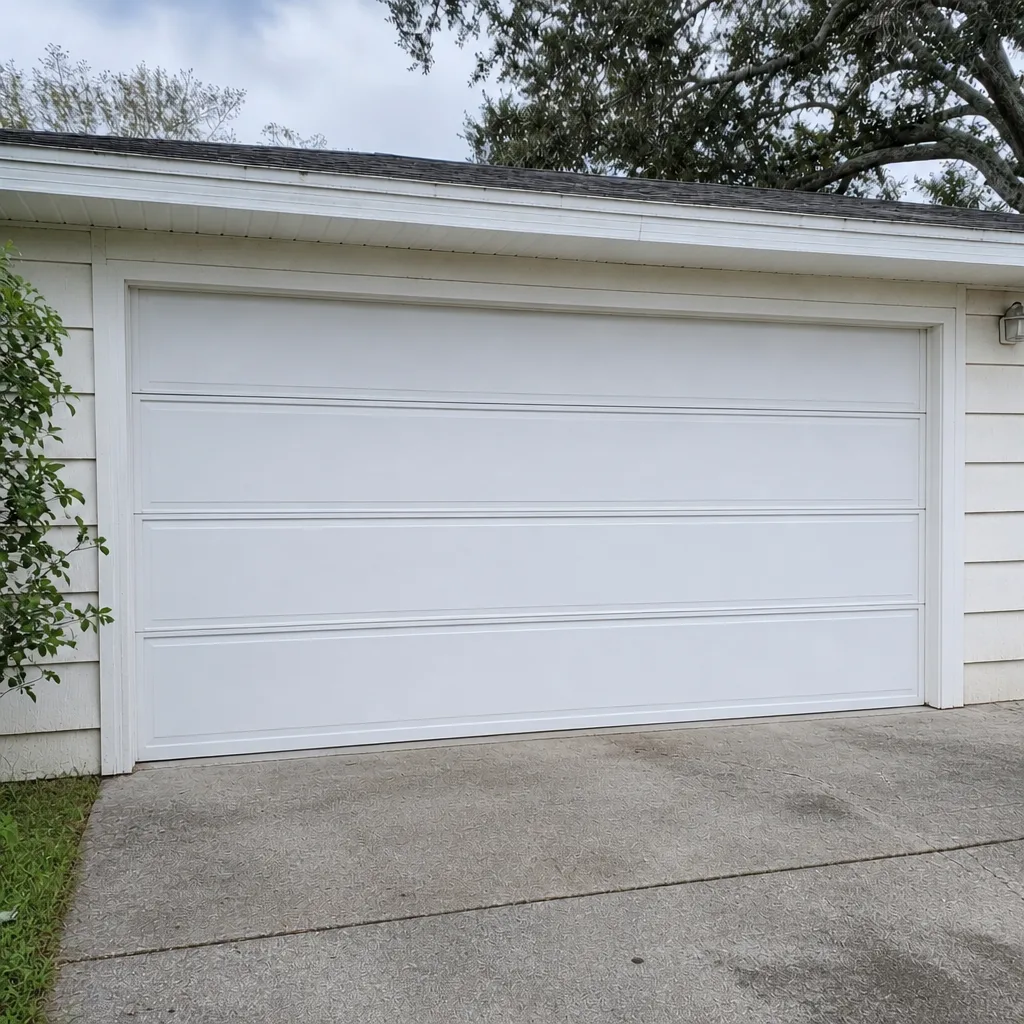 After
When to Call a Professional
Call a professional if the door won’t reverse on the safety test, if a spring has visibly broken or stretched, if a cable is frayed, if the door is off its tracks, if the opener runs but the door doesn’t move, or if the door has been damaged by a storm. Also call if you hear grinding or squealing that lubrication doesn’t solve, or if the door is hitting the floor unevenly. Those symptoms point to hardware under load or a mechanical fault that’s best diagnosed with the door in front of a trained eye. Bradenton Garage Door Repair Pros offers free estimates in Bradenton and dedicated emergency service for doors that fail. Call (844) 941-2329 to schedule.
Frequently Asked Questions
Lubricate the moving parts every three months, and lightly on the opener rail each time. Bradenton’s humidity means a thin silicone spray holds up better than heavier oils, and it should be reapplied more often here than in drier climates.
Use a silicone-based spray on hinges and rollers, and a light white lithium grease on the opener rail. Avoid general-purpose oils, which turn sticky in the heat and trap grit that wears the hardware faster.
Place a solid object in the door’s closing path and press the wall control. The door should reverse immediately on contact. If it doesn’t, stop using the door and call a professional; Florida law requires the function on doors that access a living space.
Yes. Schedule a pre-season inspection in the spring that covers brackets, lag bolts, bracing, weatherstripping, the manual release, and the safety systems. That gives any needed repairs time to be completed before the season starts.
No. Torsion and extension springs are under high tension and can cause serious injury if they slip. Spring adjustment and replacement should be done by a trained technician with the right tools, and garage door spring repair is a service we handle as its own specialty.
Look for rust or bubbling paint on the bottom section, hinges, rollers, and track brackets. Homes within about five miles of the Gulf or Tampa Bay see corrosion first, and pitting on a spring or a frayed cable means the hardware needs replacement before it fails.
The Bottom Line
A maintenance routine that works in Bradenton looks different from the generic checklist. Lubricate with silicone, not general oil. Clean the tracks and keep them dry. Test the auto-reverse function monthly and record the results. Inspect for corrosion if you’re near the water, and run a separate pre-hurricane-season protocol on brackets, bracing, and weatherstripping. Every month put in ten minutes; every quarter put in a half hour; once a year put in an hour, or hand it to a specialist. For those in Bradenton, starting with the right product and the right schedule is the whole game. If you’d rather have a professional walk the checklist with you, our team is a call away.
You can start with a simple plan: Bradenton Garage Door Repair Pros is the parent service for every job we handle, and our home page explains what a specialist visit covers. When you’re ready for an estimate, call (844) 941-2329 to schedule a free one.
Written by the team at Bradenton Garage Door Repair Pros.